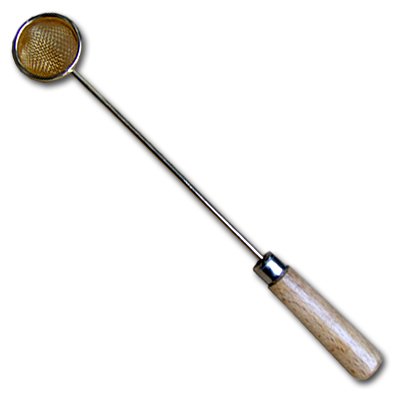
Stainless Steel Ladle With Wooden Handle
Size: W=75mm
L=275mm
Made With High Quality Stainless Steel
Introduction to Iron Melting Ladles
Iron melting ladles are essential tools in foundries, enabling the efficient transfer and pouring of molten metal. They come in various sizes and designs, each crafted to meet specific industry demands.
Key Features of Iron Melting Ladles
These ladles are typically made from durable materials that can withstand high temperatures. Many feature heat-resistant handles and spouts that ensure precision during pouring. Depending on the application, you can choose from various capacities to suit your melting operations.
Applications of Iron Melting Ladles
Used widely in metal casting and recycling industries, iron melting ladles are perfect for transporting melted iron. Their versatile design simplifies the process, enhancing productivity and safety during metalworking tasks.